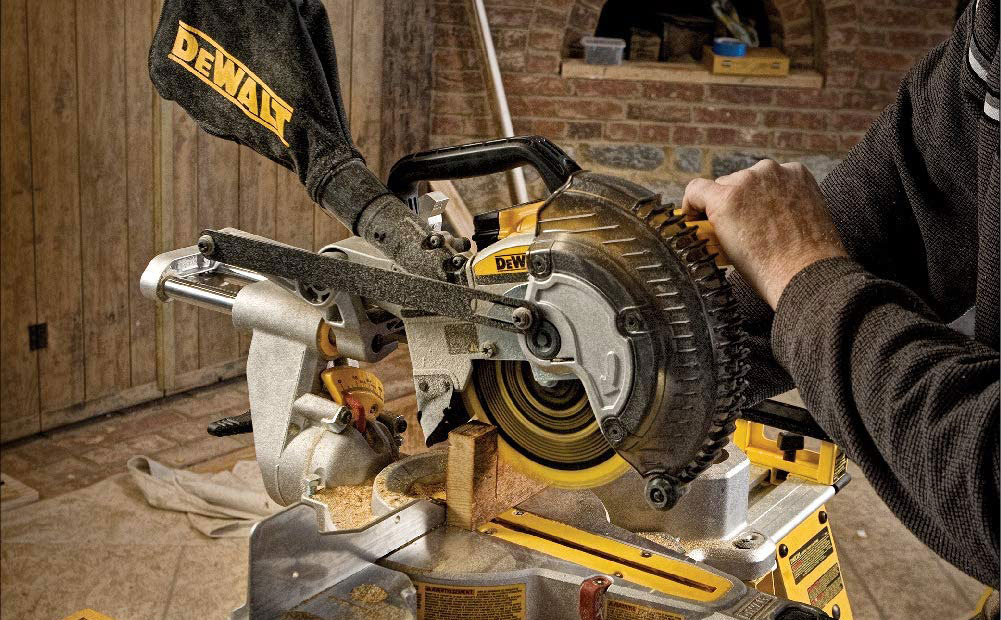
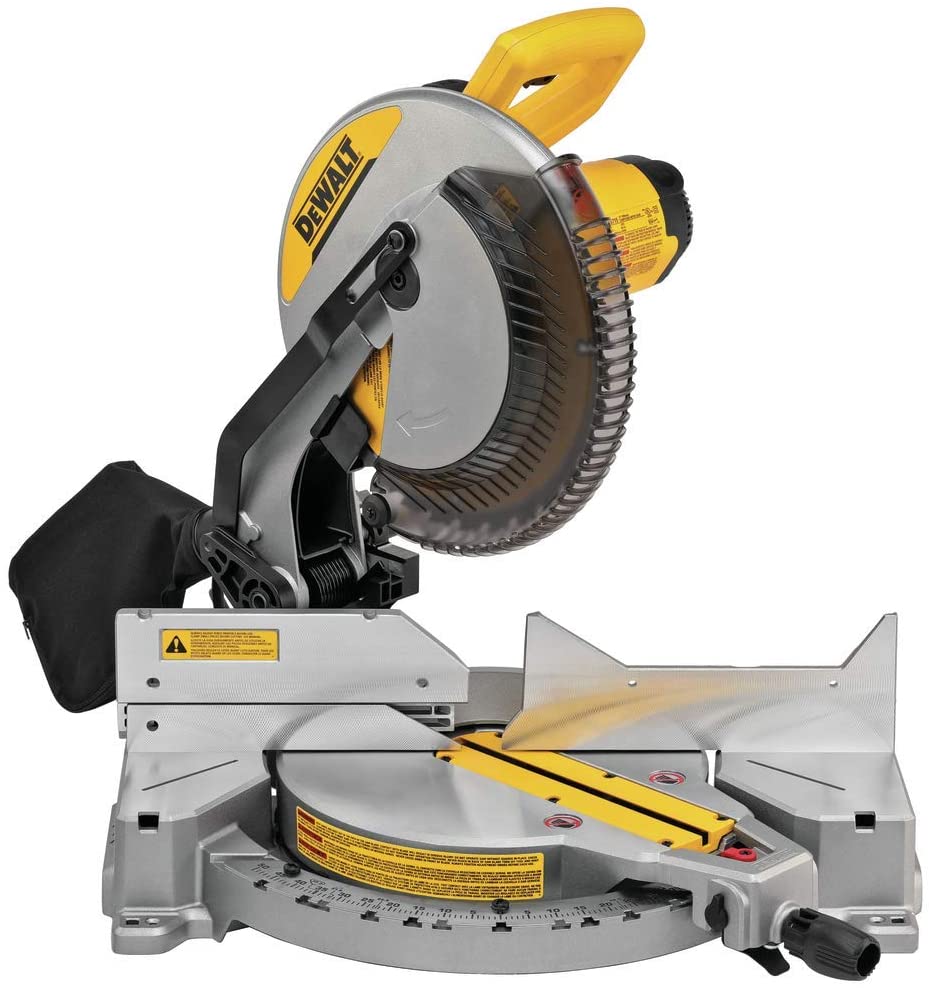
If you own the DeWalt miter saw or any similar saw and you are wondering how to change the blade, you are in the right place. In this article, you will discover the exact steps you need to take to change the blade on your DeWalt miter saw.
The 12-inch DeWalt miter saw is one of the best compound miter saws on the market. It is regarded as the golden standard compound miter saw. This is because of three key reasons. First, it is exceptionally well-made. Just two or three similar saws can compare to it. Second, it is tough. This saw can withstand hours of cutting and even misuse. Lastly, it is extremely versatile. You can use it to make several types of cuts.
If you don’t already own this miter saw and you are just reading this to find if it is easy to change its blade before you buy it, we recommend you to buy it. The blade is relatively easy to change. In fact, if you are a DIY kind of guy you will probably be able to change it without needing to read this post. Nevertheless, if you want to know how to do it correctly, we recommend you read this post.
Without further do, let’s look at how to change the blade on the DeWalt compound miter saw (or a similar compound miter saw).

Table of Contents
What you need to change the DeWalt compound miter saw blade
To successfully change the DeWalt compound miter saw blade, you will need to gather some tools. The most important tools you will need to gather include heavy-duty work gloves, protective glasses, and a blade wrench.
You need heavy-duty work gloves to be able to remove the blade without hurting your fingers or your hands. The blade is often sharp and can cause slices or even deep cuts if handled with bare hands. So make sure you get heavy-duty work gloves to wear before you start removing your DeWalt saw blade.
You need protective glasses to protect your eyes when working with workplace machines such as this compound miter saw. This is because something can unexpectedly shoot toward your eyes and cause irreversible damage to your eyesight. Of course, this is something you do not want to happen so it is ideal to take precaution and wear protective glasses.
Most importantly, you need a blade wrench to change your DeWalt compound miter saw blade. The heavy-duty gloves and protective glasses mentioned above are important for your safety but you are not actually going to use them to change your DeWalt blade. What you are going to use to change the blade of your saw is a blade wrench. It is going to help you to remove the bolts and screws.
The good news is that you typically don’t have to buy a blade wrench to change the blade of your compound miter saw. This is because most of the time when you buy a compound miter saw, it comes with a blade wrench. The DeWalt 12-inch compound miter saw does come with a DeWalt blade wrench.
The parts of the DeWalt compound miter saw that you need to know to remove its blade
The DeWalt 12-inch compound miter saw is built in the same way other popular compound miter saws are built. Therefore, knowing its parts and how to remove its blade, should make it easier for you to remove the blade of any other popular compound miter saw.
Knowing the parts of the DeWalt compound miter saw is important for the section below. This is because it will teach you the parts you will need to manipulate to remove your miter saw blade and replace it with a new one. There are four key parts in total; the blade guard, the bracket screw, the spindle lock, and the blade screw. They may be known by different names in other compound miter saws.
If you want a visual image of any of the key DeWalt parts described below, you should simply Google its name, e.g. DeWalt Blade Guard, and click the “Images.”
1. The blade guard
The blade guard is the blade cover. It is the part of the compound miter saw that covers the blade to protect the user from getting cut or hurt when operating it. The compound saw blade is typically very sharp and becomes very hot after a cutting job. So the blade guard is important to make sure it does not cut or burn your fingers and hands. Before operating your blade guard, you must always make sure it is working perfectly.
2. The bracket screw
The blade guard in DeWalt compound saws is usually fastened to the blade arm using a screw. This screw is known as the bracket screw.
3. The spindle lock
The blade of your DeWalt compound saw can rotate even when your saw is not powered. This can result in cuts when you are replacing it or maintaining the saw in general. This is the reason why the spindle lock exists. The spindle lock is a mechanism that locks the blade preventing it from freely rotating. It is important to make sure the spindle lock is engaged to avoid hurting yourself when removing the blade or doing compound saw maintenance.
4. The blade screw
The blade screw is the screw that holds the blade in place. It is what you need to loosen using a wrench to be able to remove and change your DeWalt blade.

Steps to follow to change your DeWalt miter saw blade
Now that you have familiarized yourself with the main parts of the DeWalt compound miter saw, it is time to learn the exact steps you need to follow to remove and change its blade. One more thing that is important to mention before we look at the steps is that it is key to change your DeWalt blade with a similar type and size blade if you want the same cutting performance.
Without any further delay, here are the steps you need to follow to change your DeWalt blade.
Step 1: Wear your protective glasses and your heavy-duty work gloves
Before you start changing your DeWalt blade, you need to wear protective glasses and heavy-duty work gloves. Wearing these two things is important to ensure your safety during the blade-changing process.
Step 2: Shut down your compound miter saw
As is the case when repairing or maintaining any power tool, you must shut down your compound miter saw before you start changing its blade. Shut it down and completely disconnect it from your power supply by unplugging it. This will ensure it doesn’t accidentally start when changing its blade.
Step 3: Unscrew the bracket screw and lift your blade guard
After shutting down and unplugging your compound miter saw, you should loosen the bracket screw to lift your blade guard. Your blade guard is held in place by the bracket screw. Once you loosen the bracket screw a bit using the blade wrench, you should be able to lift it (the blade guard) out of the way. After lifting it, let it rest on the bracket screw to expose the blade screw.
Step 4: Unscrew the blade screw
After exposing the blade screw, all you need to do to remove your blade is to unscrew the blade screw. Before you do this, you should engage the spindle lock to prevent the blade from moving as you are unscrewing it. Unscrew the screw in the clockwise direction to remove it and the blade.
Step 5: Make sure you do not lose the parts
When you unscrew the blade screw, you will not only remove the screw and the blade but also a few other important parts of your compound miter saw. Make sure you do not lose the parts by putting all of them in one place.
Step 6: Install the new blade
After removing the old blade, attach your new blade and the components back to your power tool using the blade screw. Make sure your screw back on everything that came loose when you unscrewed the blade screw. Because if something is amiss, your saw will not work correctly.
Step 7: Finish the job
After you are done screwing your new blade and your compound saw parts back on, you should finish the job by ensuring you have properly secured the blade and the important parts around it. You should then return the blade guard back to its place and ensure it is also properly secured.
Conclusion
As you can see above, changing a DeWalt blade is a straightforward process. You just have to gather the right tools, know the key parts of your saw, and follow the steps above to do it correctly.
